Small Scale Offgrid Solar PV: Installation Manual
6. Use threaded hexagonal screws, 5/16 x 1 ½ ". Hold the screw head with pliers inside the
frame as you tighten the nut with a spanner.
At this point it‟s better to carry out whatever work is necessary to extend the solar
panel‟s cables, before the solar panel is permanently fixed to the roof. This is explained in
Section 6.
Fix the solar panel to the roof
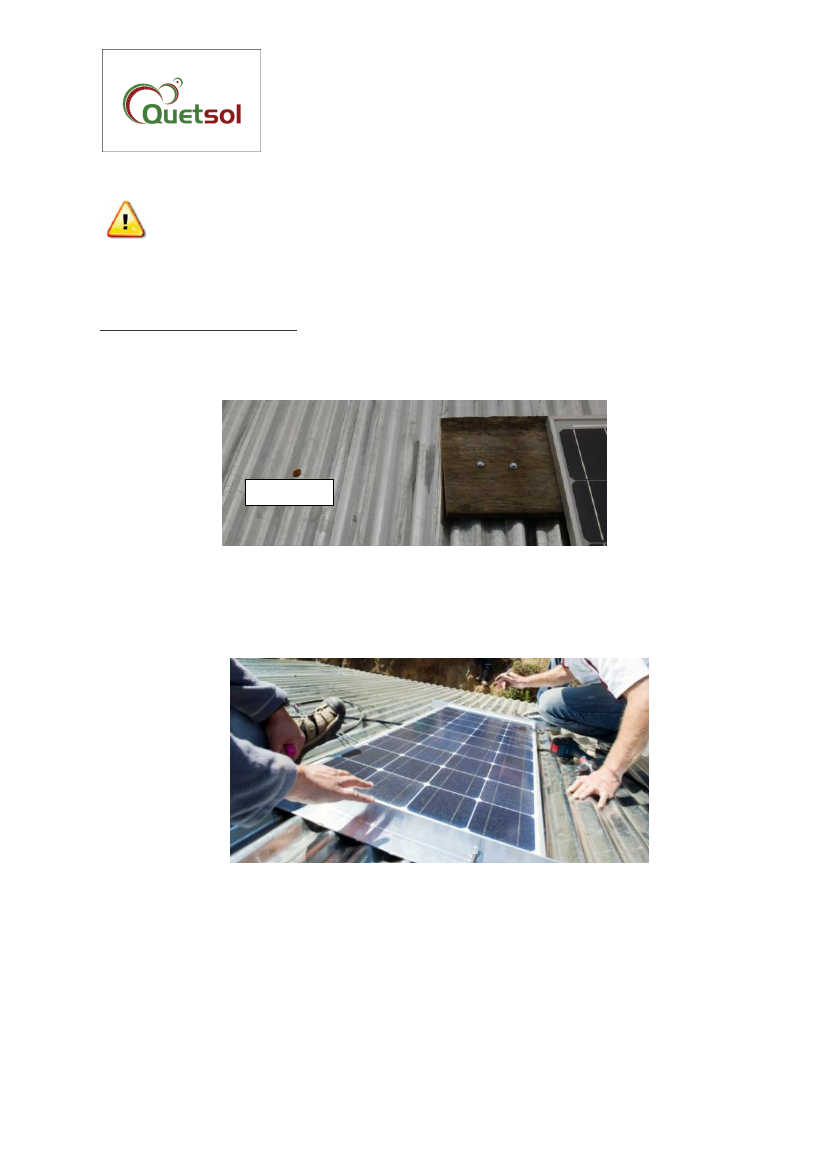
1. Position the lower aluminium angle above an interior roof beam. The roof screws can be
used as a guide.
Although this panel is anchored with a plank, the photo shows the plank positioned above a roof beam
Roof screw
The roof screws serve as a guide.
2. Mark two holes in the horizontal angle so that they are above the upper profile of the
sheet. This minimizes the ingress of rain. The fixing is done with hexagonal roof screws.
Drill the aluminium with a 3/16 " drill bit.
3. You can now fix to the beam using 3½“ roof screws. Use the battery drill with a 3/8”
socket bit. If the screw slides on the corrugated roof sheet instead of going through,
drill a hole in it first, with a 3/16” drill bit for metal. If you drill holes that are not used
make sure to seal them with silicone.
If the building has metal beams, use long bolts, fastening the nut on the inside of the beam. One
installer on the roof clamps the bolt head, while another installer in the attic tightens the nut.
A ladder will be needed on the inside.
10